Getting started
Helpdesk Hero has two free plugins and an optional add-on:
| Plugin | Where it goes | What it does |
|---|---|---|
| Helpdesk Hero Hub | Your support team's own WordPress site | The inbox for every connected site, your support policy, site access, statistics |
| Helpdesk Hero | Each customer's site | A help center in their dashboard: tickets with diagnostics, temporary access for you, activity log |
| Helpdesk Hero Pro (optional) | Your hub site, next to the hub | Advanced analytics with PDF reports, white label, ratings, supporters, AI triage, agent role (Help Scout and Zendesk coming soon) |
Customers never choose a hub themselves. They connect only with a code you give them, and your hub decides the rules.
Try it first. The live demo opens a hub and a customer site in your browser, with example tickets, in about a minute. Nothing to install.
Install the hub#
- Download the latest
helpdesk-hero-hub.zipfrom GitHub releases. On your support team's WordPress site, go to Plugins → Add New → Upload Plugin, upload the zip, then install and activate it. (Once Helpdesk Hero Hub is on WordPress.org, you'll be able to search for it under Plugins → Add New instead.) - The setup guide opens. It takes about two minutes.
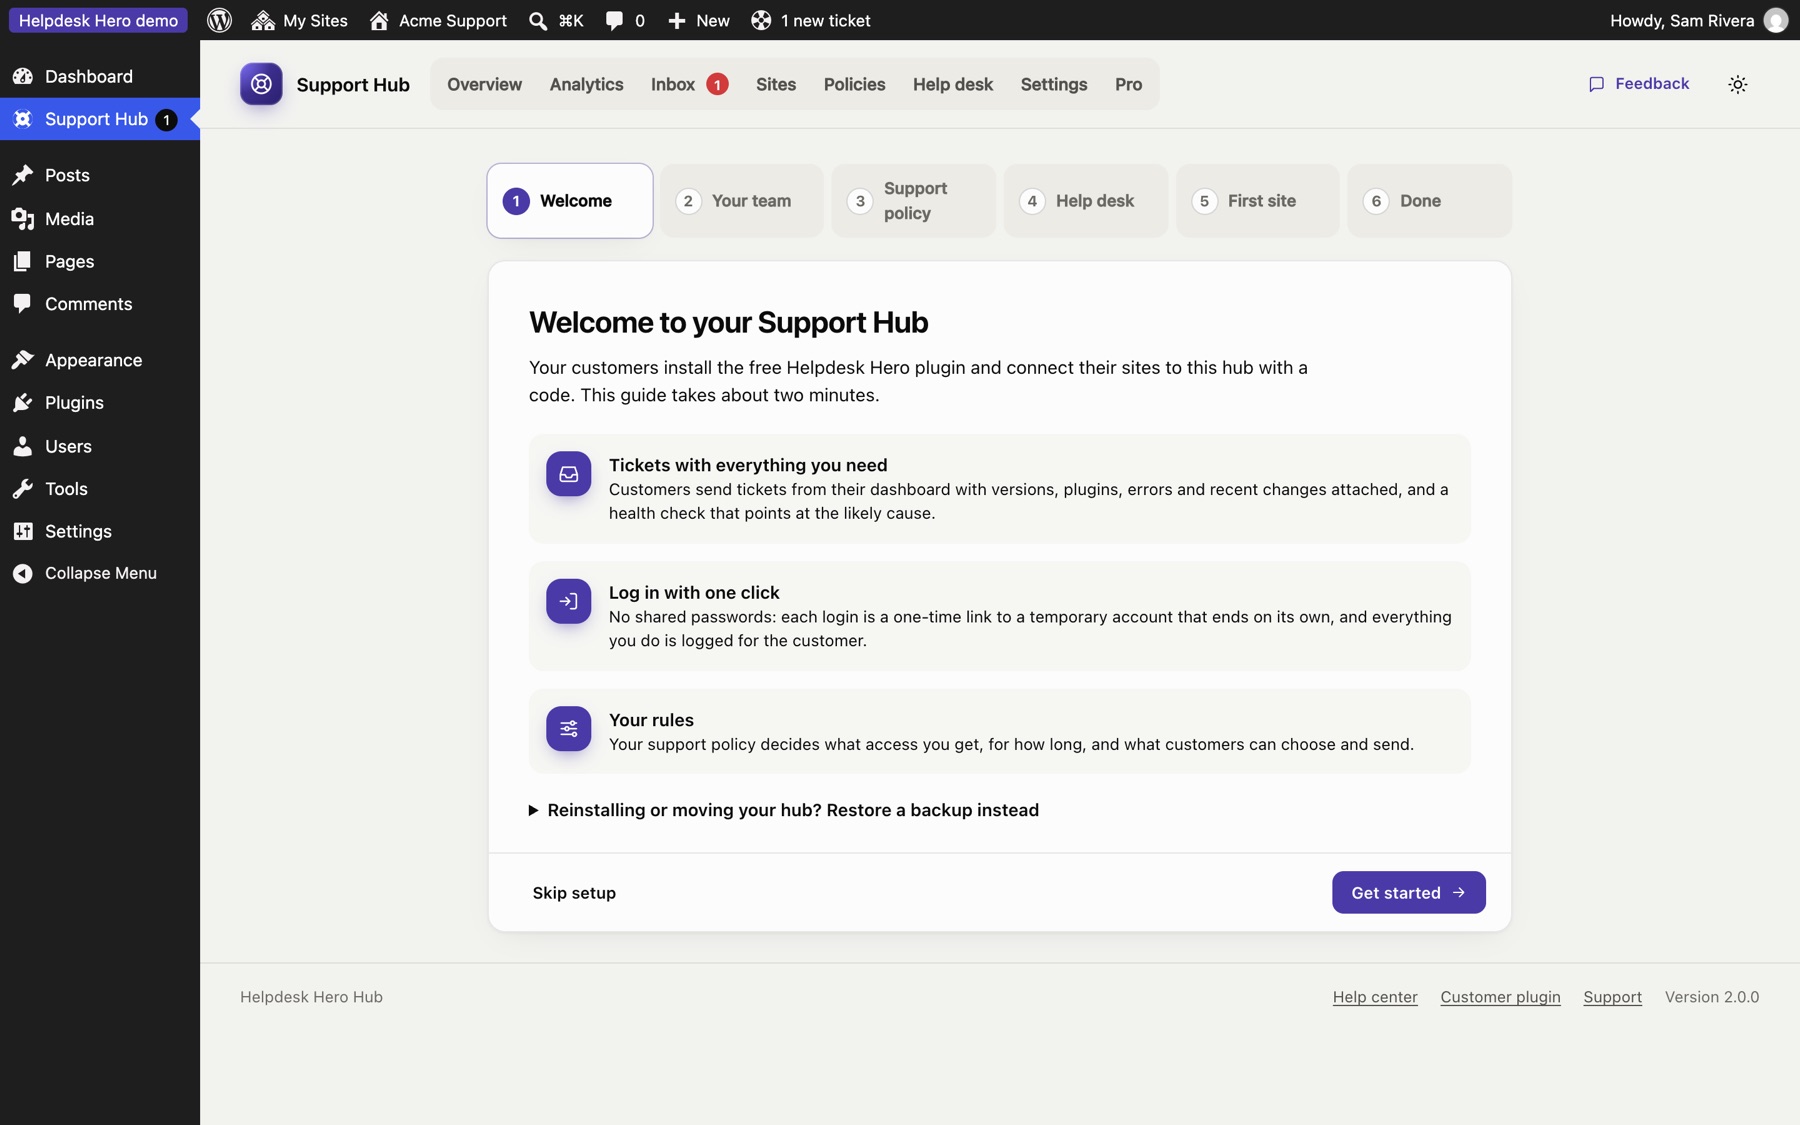
The setup guide#
The guide has six short steps:
- Welcome: what the hub does.
- Your team: the team name customers see ("Acme Support") and the email address that gets new tickets and replies.
- Support policy: start from a template (Standard, Hands-off, Strict or Full service). You can change everything later under Policies.
- Help desk: tickets go to the hub inbox and your team email. Help Scout and Zendesk are coming soon with Pro.
- First site: create a connection code for your first customer.
- Done.
You can leave the guide at any time with Skip setup, and come back to it from the Overview.
Connect your first customer site#
- In the hub, open Sites and click Connect a site.
- Enter the customer's name (and email, if you like) and choose the policy that site should use.
- Copy the connection code. It starts with
hdh1.and works for 7 days. - Send the code to your customer with these instructions: install Helpdesk Hero (the latest
helpdesk-hero.zipfrom GitHub releases), open Get Help in the dashboard, paste the code and click Connect.
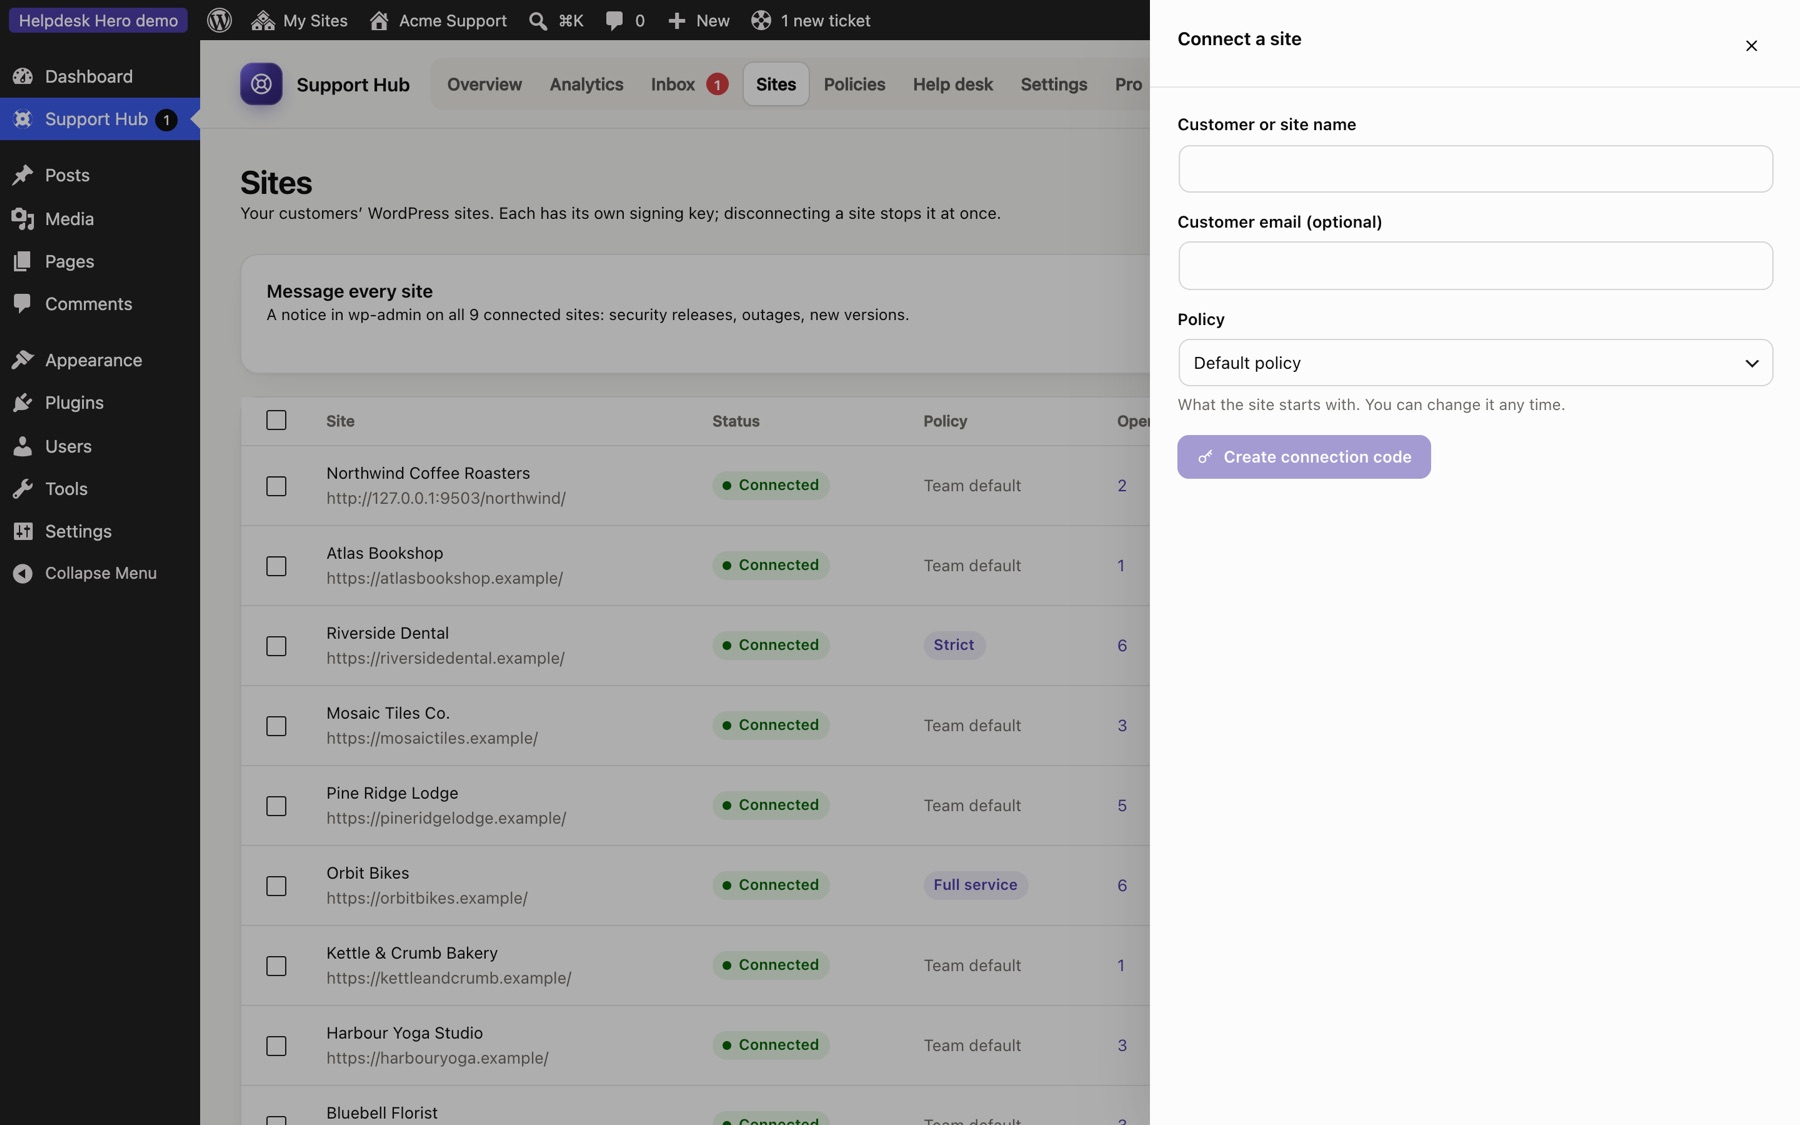
When the customer connects, the site shows up under Sites as Connected, and their help center takes your team's name and your rules. See Connecting sites for details.
What happens next#
- The customer opens a ticket from their dashboard. Their WordPress version, plugins, theme, recent errors and recent changes are attached, with a health check that points at likely causes.
- The ticket arrives in your Inbox. You get an email.
- If the customer allowed it, you click Log in and you're in their site, with a temporary account that ends on its own. See Site access.
- You reply in the hub. The customer sees your reply in their dashboard and by email.
- When the ticket is closed, the customer can rate it.
Requirements#
- WordPress 6.5 or newer, PHP 7.4 or newer, on both the hub and customer sites.
- The hub and the customer sites must be able to reach each other over HTTPS (the WordPress REST API must not be blocked).
- AI features are optional and need WordPress 7.0's AI Client with a connected provider.
Still stuck? Check Troubleshooting and the FAQ, or ask on GitHub. You can also try everything in the live demo.